Imagine stepping into a shower that feels like a spa, right in your Avondale home. You’ve probably seen those glossy Instagram reels and thought, “That could be me.”
Most homeowners think swapping out a tub for a sleek walk‑in shower means tearing down walls and blowing the budget. What if I told you there’s a proven step‑by‑step roadmap that cuts the guesswork and keeps the cost under control?
At Avondale’s go‑to bathroom remodel crew, we’ve taken the chaos out of the process and turned it into a checklist you can follow. From picking the perfect tile to wiring the lights, we’ve mapped every move so you never get stuck.
Ready to see how the plan unfolds and why your next shower could be the best upgrade you’ve ever made? Keep reading and we’ll walk you through each stage, no jargon, just results.
Assess Your Space and Define a Realistic Budget
Measure Twice, Cut Once
Start by pulling out a tape measure, a level, and a notepad. Sketch the existing layout, noting wall lengths, ceiling height, and any obstacles like windows or built‑in cabinets. Accurate dimensions prevent surprise cuts when the tiles arrive.
- Width and depth of the shower footprint
- Location of existing plumbing stacks
- Clearance for doors, benches, or niches
Budget Blueprint
Next, translate those numbers into dollars. Break the project into three buckets: materials, labor, and contingency. Knowing where each dollar goes keeps the spreadsheet honest and the project on track.
- Tile, stone, or acrylic panels – 30‑40% of total
- Shower pan, waterproofing, and framing – 20‑25%
- Contractor fees, permits, and unexpected fixes – 15‑20%
Choose the Perfect Shower Design and Materials
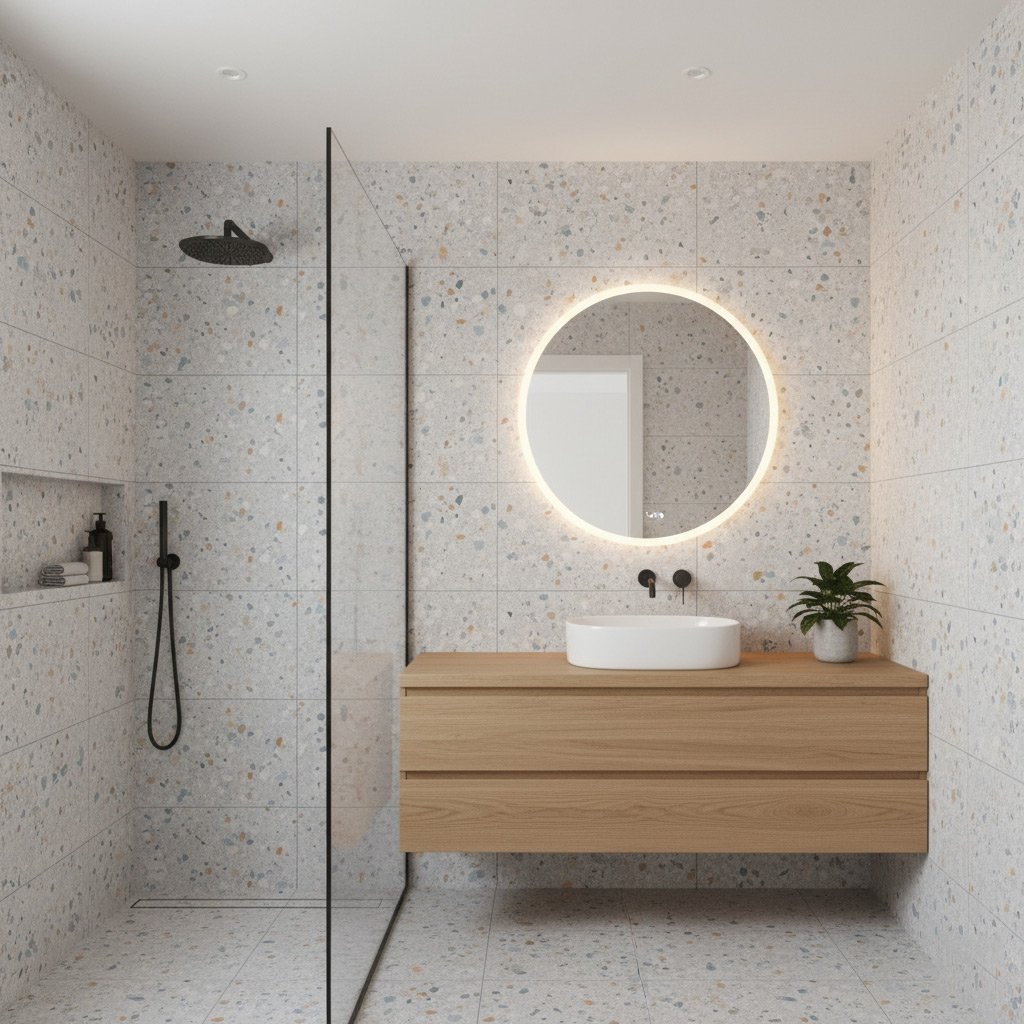
Design Styles That Sell
First, decide the vibe you want—clean lines, rustic charm, or a spa‑like retreat. A rectangular walk‑in feels modern; a curvy niche adds drama without extra square footage.
Match the design to your bathroom’s footprint. Too big a shower can choke a small room, while a compact corner unit can free up space for storage.
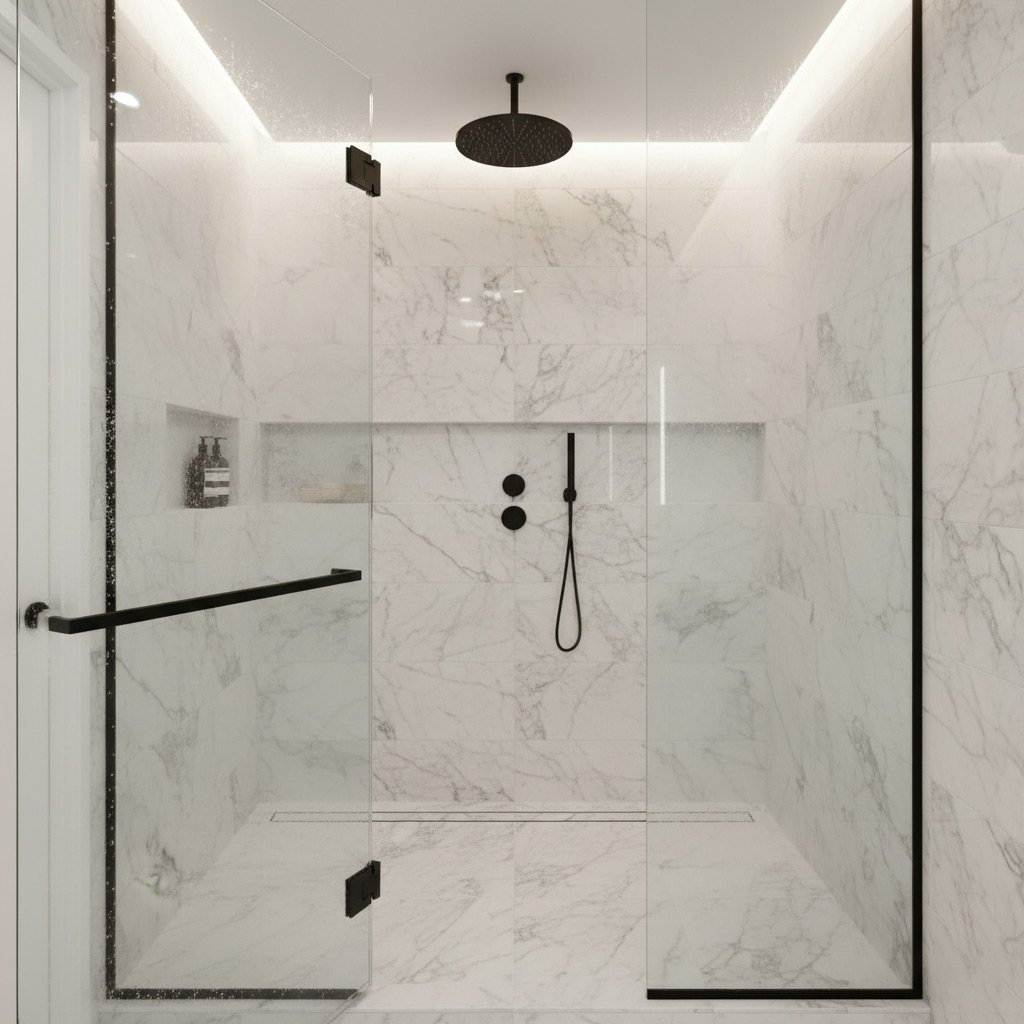
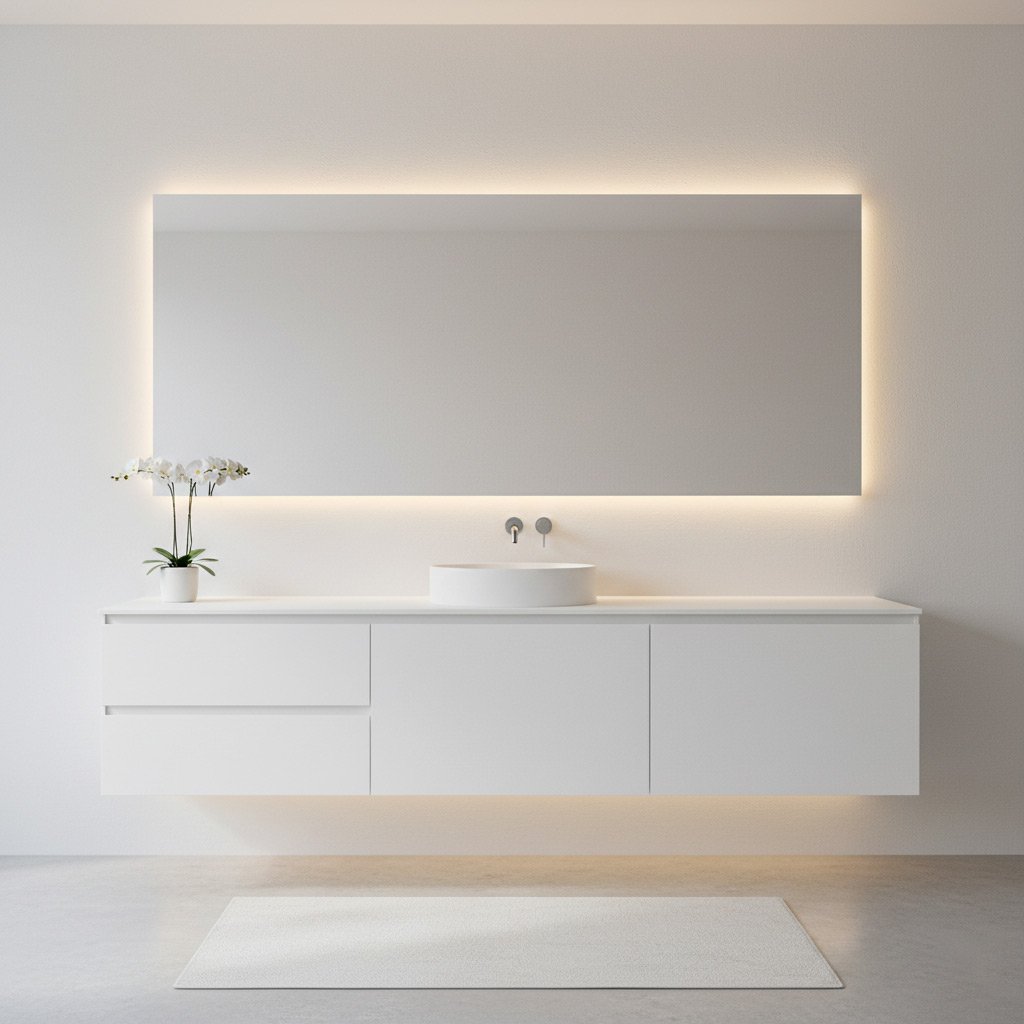
- Minimalist: Frameless glass, straight‑edge tile, hidden hardware.
- Industrial: Exposed black steel, large‑format slate, matte black fixtures.
- Coastal: Light‑blue mosaic, pebble floor, brushed nickel accents.
Material Choices
Tile is the star, but not all tiles are created equal. Porcelain resists stains, while natural stone adds depth but needs sealing.
Don’t forget the shower pan. A pre‑formed acrylic pan saves time; a custom mortar bed gives you unlimited shape options.
- Wall tile: 12‑inch subway, 6‑inch hex, or large 24‑inch slabs.
- Glass: Clear for openness, frosted for privacy, or tinted for a luxe feel.
- Hardware: Brass for warmth, chrome for sleekness, matte black for edge.
Putting It All Together
Balance texture and color so the shower feels cohesive, not chaotic. Pair a bold accent tile with a neutral base to keep the eye moving.
Think about maintenance early. Smooth, glazed surfaces wipe clean; textured stone may need a brush and a seal every few months.
- Choose a grout color that hides stains—mid‑tone works for most palettes.
- Plan for lighting: recessed LED strips under the bench create a spa vibe.
- Include a built‑in niche for shampoo and soap; it saves space and looks intentional.
Plan Plumbing, Electrical, and Ventilation Requirements
Know Your Existing Infrastructure
Before you order any pipe or fixture, walk the bathroom and locate the main shut‑off, the drain stack, and any hidden water lines. Map out where the current supply meets the wall so you can see what needs to move.
Take note of these critical points:
- Water pressure at the nearest faucet – low pressure means you’ll need a booster.
- Distance from the existing drain to the new shower base – longer runs may need larger pipe.
- Any corroded copper or old PVC that must be replaced.
Wire It Right
Shower lighting and a vent fan aren’t optional; they’re code‑required for safety. Plan a dedicated 20‑amp circuit with a GFCI outlet right by the shower niche.
Key electrical checkpoints:
- Position of light fixtures – keep them at least 6 inches above the shower curb.
- Location of the vent fan – it should vent straight outside, not into the attic.
- Check for existing wiring that may need to be upgraded to handle the new load.
Breathe Easy
Moisture loves to linger, so a properly sized exhaust fan is your best friend. Calculate the fan’s CFM by multiplying the shower area (sq ft) by 8.
Ventilation must include:
- A duct that’s at least 4 inches in diameter and runs straight to the exterior.
- A sealed fan housing to prevent leaks.
- Optional humidity sensor – it kicks the fan on automatically.
Select Tiles, Fixtures, and Accessories for a Cohesive Look
Tile Talk
First thing’s first: pick a tile that sings with the rest of your home. Large-format porcelain stretches the space, while a mosaic adds texture without crowding the eye.
Keep these quick checks in mind:
- Slip‑resistant rating for safety.
- Color palette that mirrors your bathroom’s vibe.
- Grout color—light for a seamless look, dark for contrast.
Fixture Focus
Showerheads and valves are the heart of the experience. A rain‑type head feels luxurious, but a handheld sprayer adds flexibility for kids or pets.
Don’t forget these details:
- Finish matching—chrome, brushed nickel, or matte black.
- Thermostatic control to lock in your ideal temperature.
- LED lighting for a spa‑like glow.
Accessory Alignment
Accessories are the finishing touches that pull everything together. A recessed niche keeps shampoo in sight, while a built‑in bench turns a quick rinse into a mini retreat.
Quick checklist:
- Hardware finish consistent with fixtures.
- Strategic placement—think reach and sight lines.
- Durable, water‑proof materials for longevity.
Hire the Right Contractor and Manage the Project Timeline
First thing’s first: don’t just pick the first name you see on Google. A solid contractor in Avondale will have a current Arizona license, proof of insurance, and a portfolio that shows they’ve tackled modern showers before. Ask for at least three recent references and actually call them – a quick “How was the cleanup?” can reveal a lot.
Set Clear Milestones
Break the remodel into bite‑size phases. When everyone knows what’s due and when, the chaos disappears.
- Demo & Prep: 1–2 days to strip the old tub and protect the rest of the house.
- Rough‑In Plumbing & Electrical: 2–3 days for new lines, vent fans, and lighting.
- Tile & Shower Base Installation: 4–5 days, depending on pattern complexity.
- Finishing Touches: 1–2 days for fixtures, caulking, and final inspection.
Keep a simple spreadsheet or a shared Google Doc with dates, responsible parties, and a column for “notes.” If a task slips, you’ll see it instantly and can push the next step forward without surprise.
Communication is the glue that holds the schedule together. Schedule a brief 15‑minute check‑in every morning – a quick “What’s done, what’s next?” keeps the crew accountable and lets you catch issues before they snowball. When a change order pops up, write it down, agree on the cost, and adjust the timeline right away. That way you stay in control and your new shower hits the finish line on time.
Case Study: Turning a 1970s Avondale Bathroom into a Modern Spa‑Like Shower
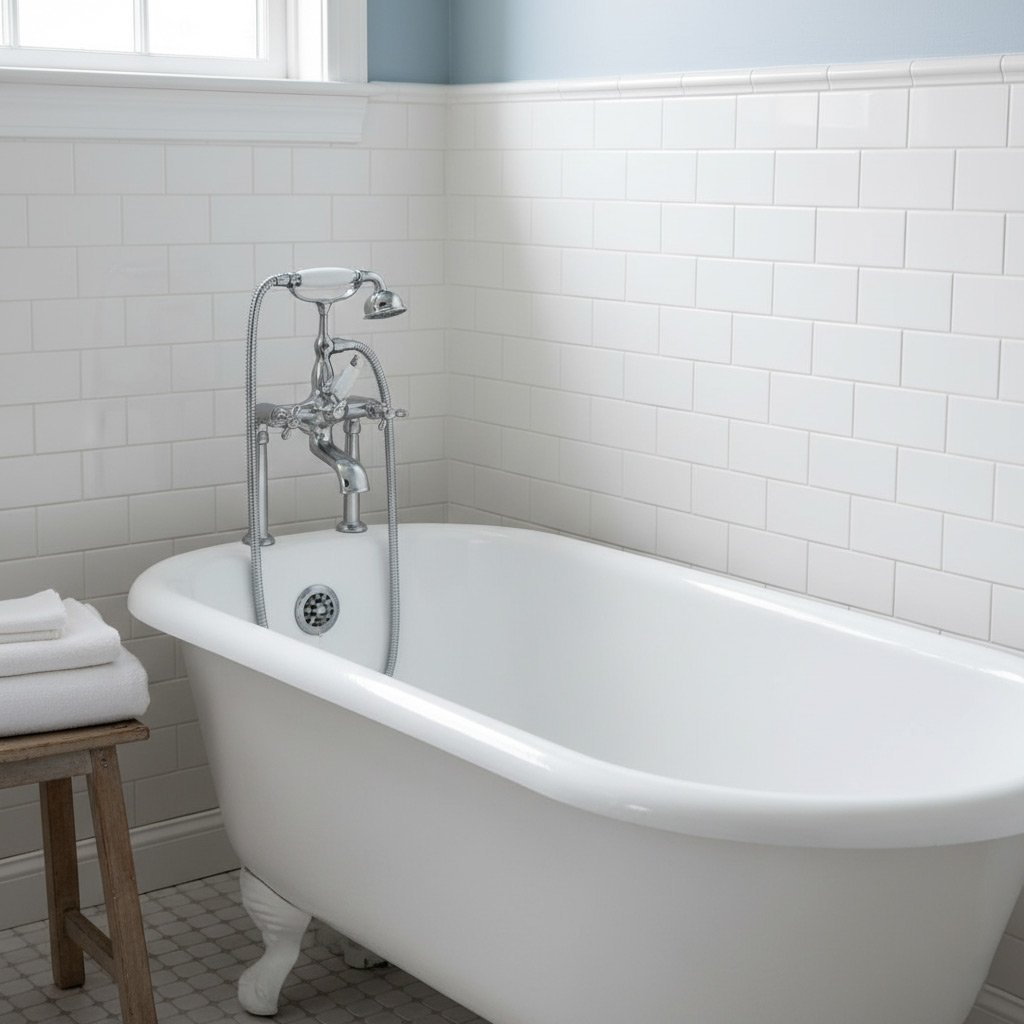
The Starting Point
When the owners first walked into their 1970s bathroom, the cracked tile and dated bathtub screamed “time capsule.” They wanted a spa vibe without a full‑house renovation. Our first move was to strip everything back to the studs, exposing the original plumbing and framing.
Design Decisions That Made the Difference
We swapped the old tub for a frameless glass enclosure, paired with a linear rain‑shower head that mimics a waterfall. The tile selection was crucial: large, matte porcelain slabs in a soft dove gray created a seamless look, while a single strip of heated mosaic added a touch of luxury.
- Glass enclosure: clear, minimal framing for an open feel.
- Linear rain‑shower head: high‑flow, low‑noise.
- Heated mosaic accent: 12‑inch strip behind the bench.
- LED recessed lighting: warm glow, energy‑efficient.
Results That Speak for Themselves
Within six weeks the bathroom transformed from a relic to a retreat. The owners reported a 30% increase in home value appraisal and rave reviews from guests. Key takeaway: a focused upgrade—shower, glass, lighting, and tile—delivers a spa experience without gut‑level demolition.
Final Words
When you reach the finish line, the real win is walking into a shower that feels custom‑built for you, not a cookie‑cutter install. The roadmap you just followed is the same one we’ve used to turn dozens of Avondale bathrooms into daily retreats.
What to Do Next
- Grab your checklist and mark every item as complete.
- Schedule a final walk‑through with your contractor to catch any loose ends.
- Enjoy the first hot‑water test—this is the moment you’ve been waiting for.
If you’re still hunting for inspiration or need a fresh set of eyes on your plan, dive back into our New Showers hub. It’s packed with ideas, product picks, and real‑world examples that keep the momentum rolling.
People Also Ask
How do I determine the right budget for a new shower in Avondale, AZ?
Start by measuring the available space and listing desired features, then get rough cost estimates for materials, labor, and permits. Add a 10‑15% contingency to cover unexpected expenses and ensure your budget remains realistic.What shower design trends are popular in Avondale homes?
Walk‑in showers with frameless glass enclosures, large-format tiles, and linear drains are trending. Incorporating natural stone accents and LED lighting adds a modern, spa‑like feel.Do I need a permit for a shower remodel in Avondale?
Yes, most plumbing, electrical, and structural changes require a city permit. Your contractor should handle the application process to keep the project compliant and avoid fines.How long does a typical shower remodel take from demolition to finish?
A standard remodel usually spans 2‑3 weeks, depending on the scope and material lead times. Complex layouts or custom tile work can extend the timeline to 4‑5 weeks.What should I look for when hiring a shower contractor in Avondale?
Verify the contractor’s licensing, insurance, and local references, and ask for a detailed written estimate. Clear communication, a solid project schedule, and a warranty on workmanship are also key indicators of a reliable professional.Avondale Bathroom Remodel specializes in comprehensive bathroom renovations, bringing over a decade of craftsmanship to homes throughout Avondale, Arizona. Their team combines local knowledge with meticulous attention to detail to deliver functional and stylish spaces that reflect each homeowner’s vision.
Need Bathroom Remodel?
We restore comfort to homes in Avondale and surrounding communities with prompt, reliable service that gets the job done right the first time. (85323, 85324, 85395, 85345, 85338)
Get Bathroom Quote